Home › Guides › xTool P2 settings — cut & engrave cheat sheet
xTool P2 settings — cut & engrave cheat sheet
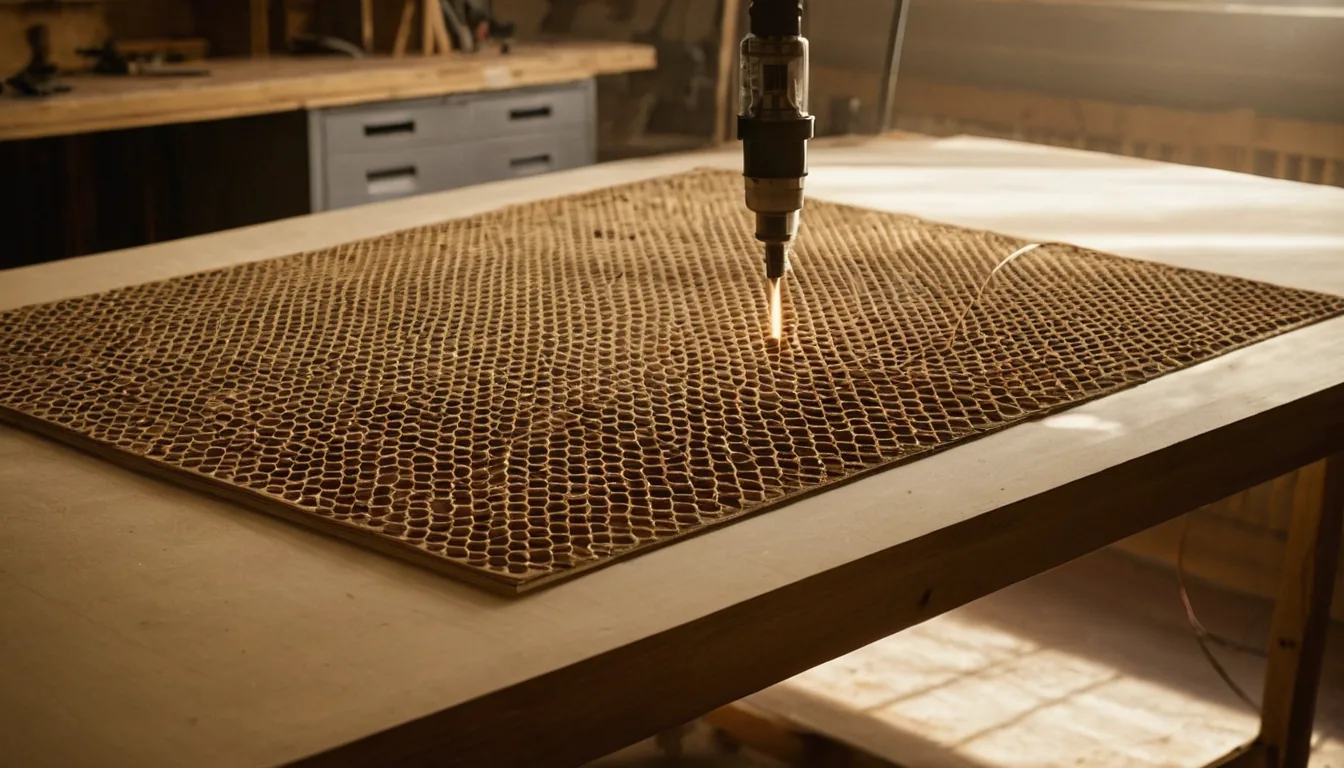
Starting-point power, speed and pass settings for the xTool P2 and P2S, a 55 W CO2 machine. These are collected figures, not results from running the machine ourselves. Every machine and material batch differs — treat these as a fast start, then confirm with a material test grid.
Quick answer: On the xTool P2 / P2S (55 W CO2), 3 mm plywood cuts at 60% power / 15 mm/s / 1 pass, and clear or cast acrylic cuts cleanly with a flame-polished edge — something no diode laser like the xTool S1 can do. The P2 and P2S share the same 55 W CO2 tube and settings; P2S adds a riser base and other convenience features, not more power.
Price a job on the xTool P2 →xTool P2 settings (power % / speed mm/s / passes)
| Material | Job | Setting |
|---|---|---|
| Plywood 3 mm | Cut | 60% / 15 / 1 pass |
| MDF 3 mm | Cut | 65% / 13 / 1 pass |
| Acrylic 3 mm | Cut | 60% / 13 / 1 pass |
| Acrylic 5 mm | Cut | 75% / 8 / 1 pass |
| Leather 2 mm | Cut | 35% / 28 / 1 pass |
| Wood | Engrave | 22% / 320 mm/s |
| Acrylic | Engrave | 22% / 300 mm/s |
| Glass | Engrave | 25% / 250 mm/s |
Always: use air assist, focus for the exact thickness, and don't hold 100% power to force a cut — slow the speed or add a pass instead. Find your exact numbers with a material test grid.
All of these charts in one printable book: The Laser Settings Handbook — 18 machines, 11 material charts, the 15 fixes and a settings log in 168 pages. Read the free 13-page sample.
Get an exact price for the xTool P2
Settings give you the speed; the calculator turns your file's path length into machine time and cost, scaled to the xTool P2.
Open the xTool P2 calculator →The add-ons a P2 owner ends up buying
You already own the machine, so the money goes on what it lacks out of the box: height for tall objects, a rotary for cups and tumblers, and extraction that does more than a hose out of the window.
Riser base for the P2: Check price on Amazon ↗
Rotary for cups and tumblers: Check price on Amazon ↗
Inline booster fan: Check price on Amazon ↗
Cast acrylic sheets 3 mm: Check price on Amazon ↗
Still deciding? xTool P2S 55 W: xTool store ↗ Check price on Amazon ↗
The riser base lifts the machine so taller objects fit under the head, and the rotary needs that height for most tumblers. Add the booster fan if the vent run to the window is longer than a couple of metres. Buy cast acrylic, not extruded: extruded melts to a rough edge.
Disclosure: some links are affiliate links — if you buy through them we may earn a small commission at no extra cost to you. Prices are approximate list prices at the time of writing; always check the current offer.
Bed size: what actually fits
The xTool P2 / P2S has a working area of 600 × 308 mm (18 cm²). That decides which stock sizes you can buy without cutting them down first — the single most annoying thing to discover after the delivery arrives.
| Common stock | Size | On this machine |
|---|---|---|
| A4 sheet | 297 × 210 mm | Fits |
| 300 × 300 mm craft ply | 300 × 300 mm | Fits |
| 400 × 400 mm sheet | 400 × 400 mm | Does not fit — cut it down first |
| 600 × 400 mm sheet | 600 × 400 mm | Does not fit — cut it down first |
| 600 × 300 mm sheet | 600 × 300 mm | Fits |
Fitting parts onto the sheet efficiently is where material cost is actually won or lost. Our nesting tool takes your file and this bed size and tells you parts per sheet; the sheet yield calculator does the same from plain dimensions.
What the xTool P2 / P2S cannot do
Knowing the hard limits saves more material than any settings tweak:
- No metal cutting. A CO2 laser marks coated and anodised metal, and cuts none of it. Bare metal needs a fiber laser.
- Tube power falls off with age. A tube several years in will not match the settings it cut cleanly on when new — re-run a test grid rather than raising power to compensate.
- Never PVC or vinyl. Chlorine gas corrodes the machine and is toxic. This is a hard no, not a quality issue.
Troubleshooting: symptom, cause, fix
| Symptom | Usual cause | Fix |
|---|---|---|
| Cut does not go through, top looks fine | Focus off, lens dirty, or mirror alignment drifted | Clean the lens first — a resin film costs real power. Then re-focus and check alignment before touching settings. |
| Power seems lower than it used to be | Tube ageing, or optics needing a clean | Clean optics, then re-run a test grid and write down the new numbers. Do not compensate by holding 100%. |
| Acrylic edge frosted instead of glossy | Too much air assist on the cut | Reduce air pressure for acrylic. Low air gives the flame-polished edge; high air frosts it. |
| Engrave depth uneven across the bed | Bed not level, or focal distance varying across travel | Level the bed and check the material is flat — warped stock is the usual cause, not the machine. |
| Scorch marks around engraved areas | Smoke redepositing on the surface | Mask the surface with transfer tape, improve extraction, and wipe with a damp cloth after. |
If none of that helps, work through why won't my laser cut all the way through? or how to stop burn marks on wood.
Material cost per sheet
Settings tell you the time; material tells you the rest of the price. Typical cut speeds and prices per sheet for the materials this machine handles: Plywood 3 Mm · Plywood 6 Mm · Mdf 3 Mm · Plexiglass 3 Mm · Plexiglass 5 Mm · Leather 2 Mm.
To turn any of it into a quote, drop your file into the xTool P2 / P2S calculator — it applies this machine's speeds to your actual path length. For shop pricing, the hourly rate calculator works out what your machine time is really worth.
FAQ
What power and speed cuts 3 mm plywood on the xTool P2?
On the xTool P2 / P2S 55 W CO2, a starting point for 3 mm plywood is 60% power at 15 mm/s, 1 pass. Values are starting points — run a small test on the same sheet, and use air assist for a clean edge.
Can the xTool P2 cut clear acrylic?
Yes. The xTool P2 is a CO2 laser, which cuts clear acrylic cleanly with a flame-polished edge. Use one slower pass with gentle air assist for the glossiest edge.
How much does it cost to run the xTool P2?
Laser jobs are priced by machine time: cut length ÷ cutting speed × passes = time, then time × hourly rate + setup. Drop your file into the free calculator scaled to the xTool P2 to get an exact time and price.
What is dot duration on an xTool laser?
Dot duration is how long the laser fires at each individual point when engraving in dot mode, measured in milliseconds — typically 0.1-1.0 ms. It is xTool's name for what other software calls dot time or dwell time. Longer dot duration burns each point deeper and darker but slows the job and widens each dot, so fine detail smears; shorter duration is faster and sharper but lighter. Start at 0.3 ms for wood and 0.5 ms for slate or anodised metal, then adjust in 0.1 ms steps. Dot duration only applies in dot or dithered engraving modes — in normal line (raster) engraving, speed and power control the burn.
What is lines per cm (LPC) in laser engraving?
Lines per cm sets how many engraving passes the head makes per centimetre of travel — the metric equivalent of DPI, and what controls resolution and how long the job takes. Typical values: 50-80 LPC for wood, 80-100 for acrylic and anodised metal, 100-130 for photo engraving. Doubling LPC roughly doubles engraving time, so raise it only until the lines just stop being visible — past that you are paying machine time for detail nobody can see. 100 LPC is about 254 DPI.
What is the difference between the xTool P2 and P2S?
Both are 55 W CO2 lasers and share the same cut and engrave settings on this page. The P2S adds convenience extras like a riser base and improved software features; the laser power and material settings are the same on either machine.
xTool P2 vs S1 — which one for clear acrylic?
The xTool P2 is a CO2 laser and cuts clear acrylic cleanly with a flame-polished edge. The xTool S1 is a diode laser and cannot cut clear acrylic at all — its ~450 nm beam passes straight through it, whatever the settings.