Home › Guides › Laser cutting and engraving settings for card…
Laser cutting settings for paper, card and cardboard
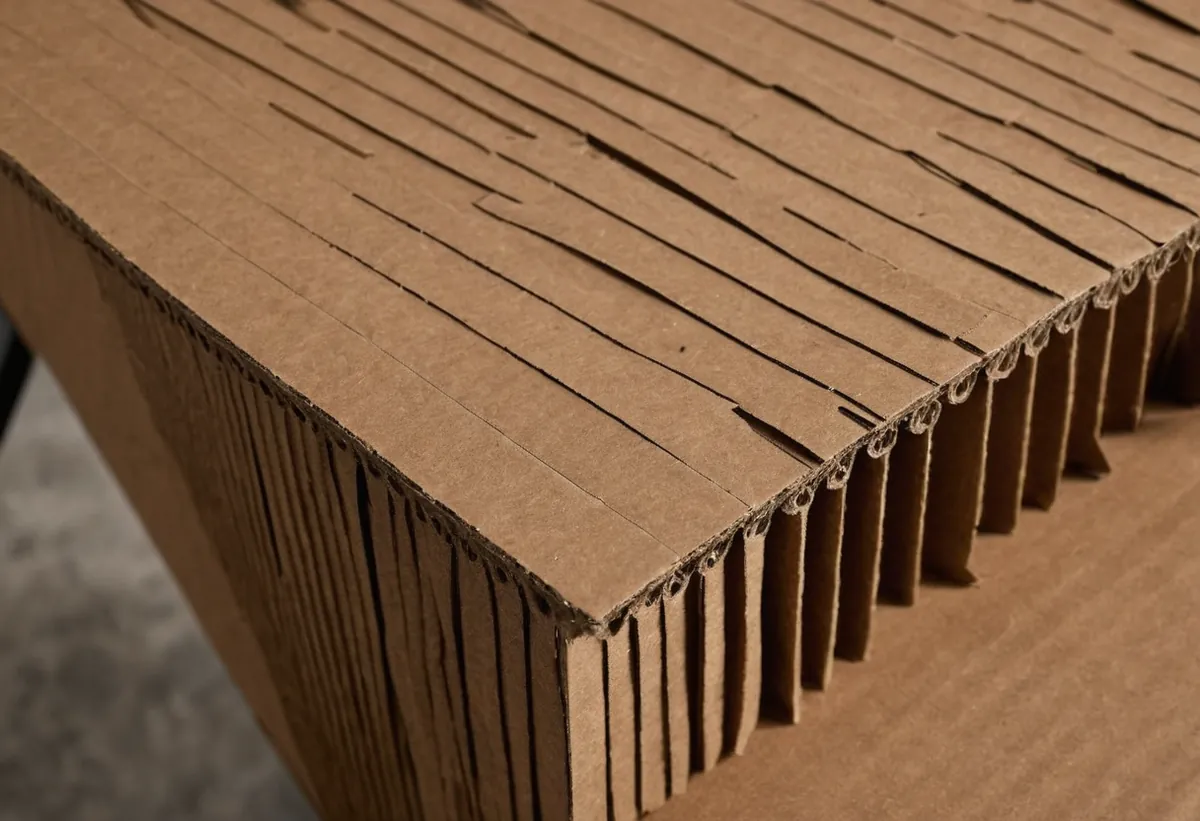
Paper and card cut at the lowest power settings you will ever use, and they are the single most likely material to set your machine on fire. Both facts come from the same place: they ignite easily and burn fast.
Quick answer: for laser cutting paper settings, run 20–30% power at 60 mm/s on a 40–60 W CO2, or 40% at 30 mm/s on a diode. Laser cutting cardboard settings run hotter and slower: 40–60% power at 50 mm/s on the same CO2, or 60–80% at 20 mm/s on a diode, in one pass. Both ignite easily, so never leave a cut unattended.
Price a job on this material →Settings table
| Job | CO2 40–60 W | CO2 80–100 W | Diode |
|---|---|---|---|
| Cardboard, cut | 40–60% · 50 mm/s · 1 pass | 30–45% · 70 mm/s · 1 pass | 60–80% · 20 mm/s |
| Cardboard, engrave | 8–15% · 400 mm/s · 300 DPI | 6–12% · 500 mm/s · 300 DPI | 15–25% · 200 mm/s |
| Paper, cut | 20–30% · 60 mm/s · 1 pass | 15–25% · 80 mm/s · 1 pass | 40% · 30 mm/s |
Starting points, not guarantees. Focus, air assist, lens condition and the batch all move these numbers — confirm yours with a material test grid on an offcut before running a real job.
Stock that cuts cleanly
Paper and card are the cheapest things to cut and the easiest to set on fire. Consistent stock matters more here than on wood, because a flute void in cheap corrugated will flare.
Corrugated cardboard sheets: Check price on Amazon ↗
Chipboard / greyboard: Check price on Amazon ↗
Cardstock 300 gsm: Check price on Amazon ↗
Never leave a paper cut running unattended, and keep air assist low — a strong blast fans an ember into a flame.
Disclosure: some links are affiliate links — if you buy through them we may earn a small commission at no extra cost to you. Prices are approximate list prices at the time of writing; always check the current offer.
Never leave it unattended
This is not boilerplate safety text. Card and paper are the materials most likely to flare up mid-job, and a flame that starts on a thin offcut spreads across the bed in seconds. Stay with the machine, keep the lid closed, keep air assist on, and have something to smother a flame within reach. Every experienced laser owner has a story about card.
Masking beats settings for clean edges
Scorch marks around a cut on white card are almost impossible to fix afterwards. Low-tack transfer tape on the top surface takes the smoke damage instead of the paper, and peels off clean. For double-sided work, mask both faces. This matters more than any power tweak.
Air assist, carefully
Air assist keeps flames down and clears smoke, but too much pressure lifts thin paper off the bed mid-cut and ruins alignment. Use a moderate flow and hold the sheet down — a honeycomb bed with light magnets at the corners, or a sacrificial layer underneath. A sheet that moves halfway through is scrap.
Engraving on card
Engraving card is a matter of restraint: 8–15% power on a CO2 is genuinely enough. The goal is to score the surface fibres, not to cut into them. Too much power and you cut through in patches, which looks like a printing error rather than a design.
Turning settings into a price
Once the settings are stable, the job becomes arithmetic: engraved area divided by speed and line interval gives machine time, and machine time times your rate gives the price. The engraving time calculator does it from dimensions, and the file calculator does it straight from your SVG, DXF or PDF. For what to charge per hour, see the hourly rate calculator.
All of these charts in one printable book: The Laser Settings Handbook — 18 machines, 11 material charts, the 15 fixes and a settings log in 168 pages. Read the free 13-page sample.
FAQ
What settings cut cardboard on a laser?
Start at 40-60% power and 50 mm/s on a 40-60 W CO2, or 30-45% at 70 mm/s on an 80-100 W machine. On a diode, around 60-80% power at 20 mm/s. Card cuts at much lower power than wood, and going harder than necessary is what causes scorching and flare-ups.
How do I stop scorch marks on paper and card?
Mask the surface with low-tack transfer tape before cutting and peel it off afterwards - the tape takes the smoke damage instead of the paper. Keep air assist on but moderate, use the minimum power that cuts cleanly, and mask both faces for double-sided work.
Is it safe to laser cut paper?
It is the material most likely to catch fire in a laser, so never leave the machine unattended with paper or card in it. Keep the lid closed, keep air assist running, use the lowest power that does the job, and keep a way to smother a flame within reach.
What settings engrave card stock?
Very low power: 8-15% at 400 mm/s and 300 DPI on a 40-60 W CO2, or 15-25% at 200 mm/s on a diode. You are scoring surface fibres, not removing material. Too much power cuts through in patches and the piece looks defective.
What are the best laser cutting settings for paper?
Run 20-30% power at 60 mm/s on a 40-60 W CO2, or 15-25% at 80 mm/s on an 80-100 W machine. On a diode, use around 40% power at 30 mm/s. Paper cuts at lower power than cardboard, so start low and raise it only if the sheet does not cut through.
What power should I use to laser cut cardboard?
Start at 40-60% power and 50 mm/s on a 40-60 W CO2, or 30-45% at 70 mm/s on an 80-100 W machine, in one pass. On a diode, run 60-80% power at 20 mm/s. Test on an offcut of the actual box or sheet, since corrugated flute density varies between suppliers.