Home › Guides › Laser engraving settings for glass
Laser engraving glass: power and speed settings
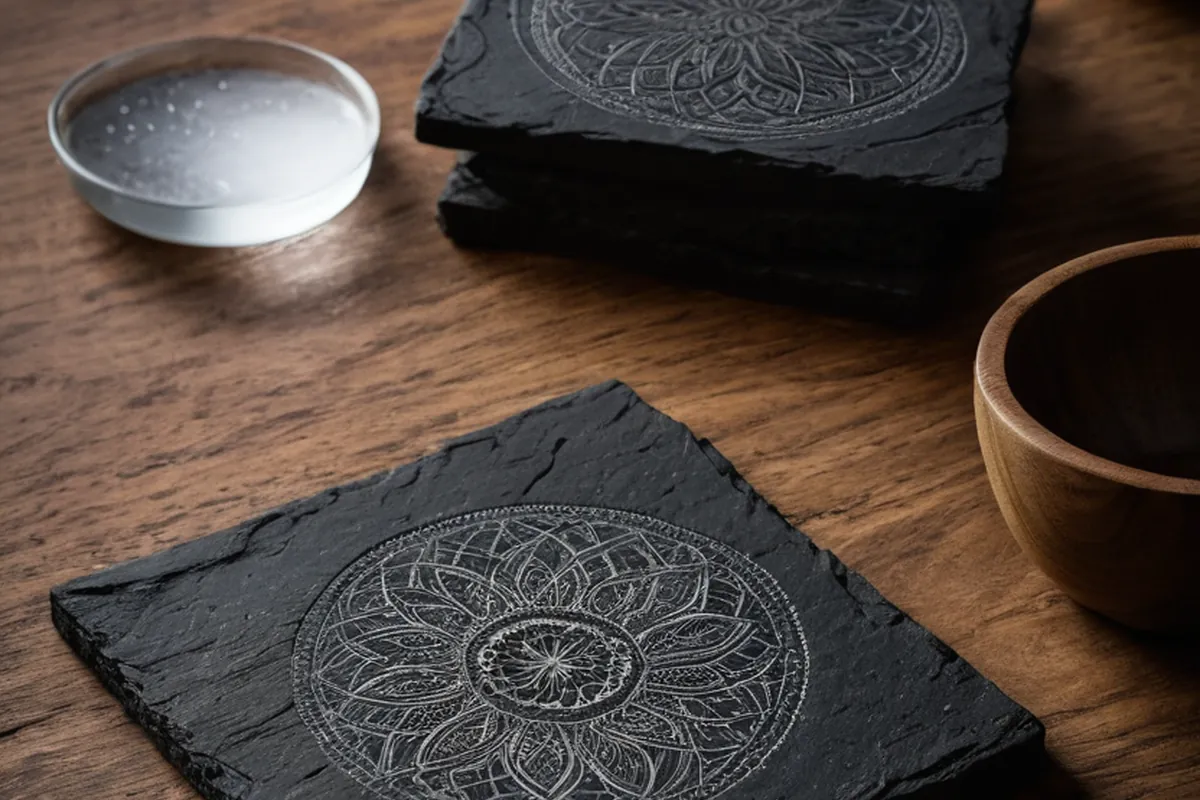
Glass does not absorb the beam so much as shatter under it — you are creating a field of microfractures. Handled right that is a clean frosted mark; handled wrong it is a rough, chipped, cloudy mess.
Quick answer: for laser engraving glass power and speed, run 30–40% power at 250 mm/s and 200 DPI on a 40–60 W CO2, or 20–30% at 300 mm/s on an 80–100 W machine. A diode laser cannot engrave glass directly — it needs a paint or tape coating first, since the beam passes straight through clear glass.
Price a job on this material →Settings table
| Job | CO2 40–60 W | CO2 80–100 W | Diode |
|---|---|---|---|
| Glass, engrave | 30–40% · 250 mm/s · 200 DPI | 20–30% · 300 mm/s · 200 DPI | needs a paint or tape coating |
Starting points, not guarantees. Focus, air assist, lens condition and the batch all move these numbers — confirm yours with a material test grid on an offcut before running a real job.
Lower the resolution, not the power
The counterintuitive part: glass looks better at lower DPI. At high resolution the microfractures overlap and chip into each other, giving a rough grey finish. Around 200 DPI leaves each fracture distinct and the mark reads as clean frost. If your glass engraving looks gritty, drop the resolution before touching anything else.
The wet paper trick
Lay a sheet of damp paper towel or newspaper over the glass, smoothed flat with no air bubbles, and engrave straight through it. The moisture pulls heat out of the surface and dramatically reduces chipping. A thin film of dish soap works on curved pieces where paper will not sit. Both are standard practice in production, not folklore.
Diodes cannot do this
A blue diode laser passes straight through clear glass, so there is nothing to engrave. The only diode route is to coat the glass — spray paint or marking tape — and mark the coating, which is a different job with a different look. For real frosted glass you need a CO2 laser.
Curved glass and bottles
A cylinder needs a rotary attachment; without one only a narrow strip stays in focus. Even with a rotary, keep the design short in the vertical axis, because the curvature carries the surface away from the focal point faster than people expect. Slightly defocusing is a common trick for glass — a marginally wider beam spreads the fracture field and can look smoother.
Turning settings into a price
Once the settings are stable, the job becomes arithmetic: engraved area divided by speed and line interval gives machine time, and machine time times your rate gives the price. The engraving time calculator does it from dimensions, and the file calculator does it straight from your SVG, DXF or PDF. For what to charge per hour, see the hourly rate calculator.
All of these charts in one printable book: The Laser Settings Handbook — 18 machines, 11 material charts, the 15 fixes and a settings log in 168 pages. Read the free 13-page sample.
FAQ
What settings engrave glass on a CO2 laser?
Start at 30-40% power, 250 mm/s and around 200 DPI on a 40-60 W CO2, or 20-30% at 300 mm/s on an 80-100 W machine. Keep the resolution low - roughly 200 DPI - because at higher DPI the microfractures overlap and the mark turns rough and grey instead of cleanly frosted.
Can a diode laser engrave glass?
Not directly. A 450 nm blue diode passes straight through clear glass, so there is nothing for it to act on. The workaround is to coat the glass with spray paint or marking tape and engrave the coating, which gives a different look. Frosted glass engraving needs a CO2 laser.
How do I stop glass chipping when engraving?
Cover the surface with damp paper towel or newspaper, smoothed flat with no bubbles, and engrave through it - the moisture draws heat away and greatly reduces chipping. On curved pieces where paper will not lie flat, a thin film of dish soap does the same job. Lowering DPI and slightly defocusing also help.
Can I engrave a curved glass or bottle?
Yes, with a rotary attachment that turns the piece under the beam. Without one only a narrow strip stays in focus. Keep designs short vertically even with a rotary, since the curve pulls the surface out of focus quickly.
What is the best power and speed for engraving glass?
On a CO2 laser, run 30-40% power at 250 mm/s and 200 DPI on a 40-60 W machine, or 20-30% at 300 mm/s on an 80-100 W machine. Keep DPI around 200 rather than higher - that is what keeps the microfractures distinct instead of overlapping into a rough, grey finish.
What are some tips for laser engraving glass without cracking it?
Cover the glass with damp paper towel or newspaper and engrave through it - the moisture pulls heat away and cuts chipping dramatically. Keep the DPI around 200 rather than higher, and slightly defocus the beam. Both tricks are standard production practice, not folklore.