Home › Guides › Laser engraving settings for slate and stone
Laser engraving slate settings for CO2 and diode
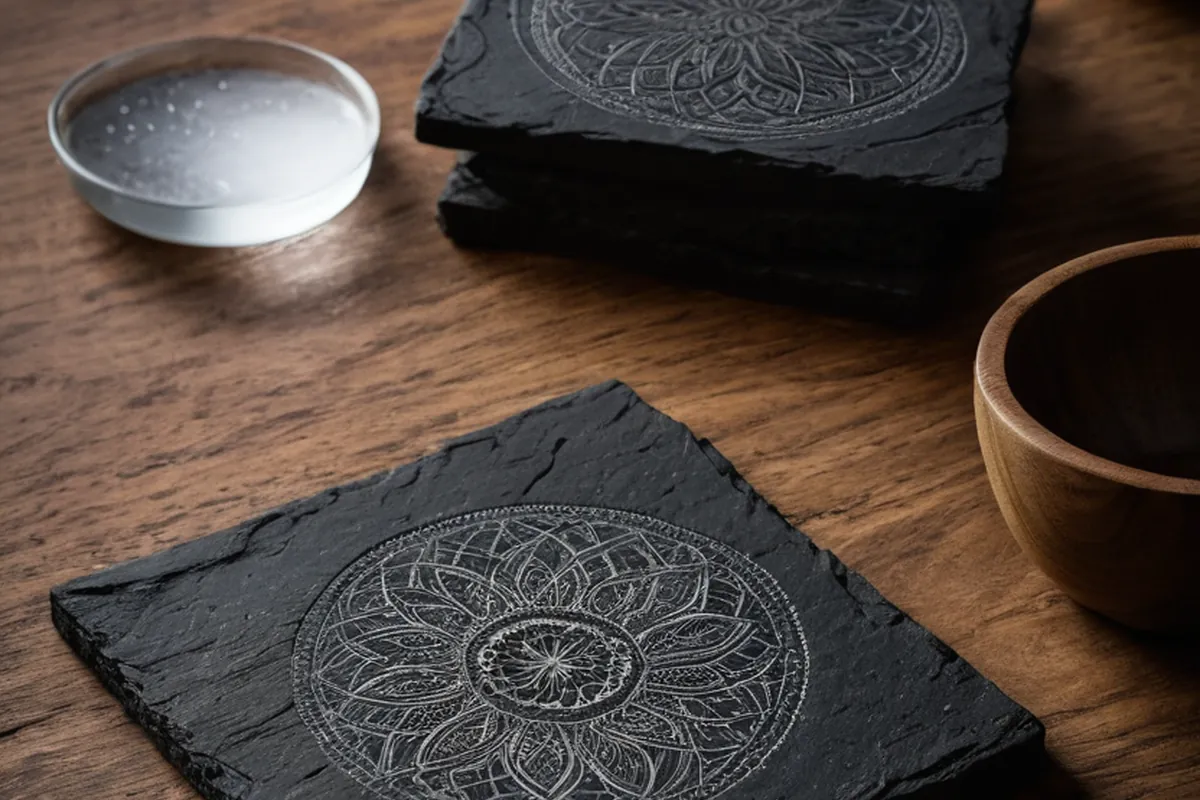
Slate is one of the most forgiving materials there is: the laser chips a thin white layer off a dark surface, so contrast is automatic and no masking is needed. It is also one of the few materials where a diode competes with a CO2.
Quick answer: laser engraving slate settings run 40–60% power at 250 mm/s, 300 DPI on a 40–60 W CO2, or 30–45% at 350 mm/s on an 80–100 W machine. On a 10W diode, 60–100% power at roughly 2,500 mm/min works well — slate is one of the few jobs where near-full diode power is fine, since it does not scorch.
Price a job on this material →Settings table
| Job | CO2 40–60 W | CO2 80–100 W | Diode |
|---|---|---|---|
| Slate / stone, engrave | 40–60% · 250 mm/s · 300 DPI | 30–45% · 350 mm/s · 300 DPI | 60–100% · 2500–6000 mm/min |
Starting points, not guarantees. Focus, air assist, lens condition and the batch all move these numbers — confirm yours with a material test grid on an offcut before running a real job.
Why slate is the easy one
You are not burning slate, you are fracturing a very thin surface layer, which comes away white against the dark stone. That means no masking, no smoke damage to worry about, and a result that is essentially permanent. It is why slate coasters remain one of the best margin products a small laser shop can sell.
Power high, speed moderate
Slate wants more power than wood and it does not scorch, so there is no penalty for pushing it. On a diode, this is the one job where 100% power is reasonable — you are not driving heat into a combustible material. Natural slate varies in hardness across a single piece, so a setting that looks perfect on one coaster may read lighter on the next from the same box.
Getting a brighter white
If the mark is too grey, raise power before lowering speed. Some engravers wipe the surface with a little oil after engraving, which darkens the slate around the mark and increases apparent contrast — test it, because it also changes the look of the whole piece.
For photographs on slate, drop the line interval and use a dithered or halftone mode; slate holds fine detail better than wood does.
Common problems
- Flaking or pitting — too much power in one spot, or a soft patch in the stone. Lower power slightly and re-test.
- Grey rather than white — not enough power, or a harder slate.
- Inconsistent across a batch — natural variation. Sort the box by shade and run settings per group.
- Dusty surface after — normal. Brush and wipe; the dust is fractured stone.
Turning settings into a price
Once the settings are stable, the job becomes arithmetic: engraved area divided by speed and line interval gives machine time, and machine time times your rate gives the price. The engraving time calculator does it from dimensions, and the file calculator does it straight from your SVG, DXF or PDF. For what to charge per hour, see the hourly rate calculator.
All of these charts in one printable book: The Laser Settings Handbook — 18 machines, 11 material charts, the 15 fixes and a settings log in 168 pages. Read the free 13-page sample.
FAQ
What settings engrave slate on a CO2 laser?
Start at 40-60% power, 250 mm/s and 300 DPI on a 40-60 W CO2, or 30-45% at 350 mm/s on an 80-100 W machine. Slate does not scorch, so if the mark is too faint you can raise power freely - unlike wood, there is little penalty for overdoing it beyond surface pitting.
Can a diode laser engrave slate?
Yes, and slate is one of the materials where diodes perform closest to a CO2. Run 60-100% power at roughly 2,500 mm/min on a 5-10 W diode, up to 6,000 mm/min on a 40 W. This is one of the few jobs where running a diode near full power is reasonable.
Do I need to mask or coat slate before engraving?
No. Unlike glass or metal, slate marks natively - the laser fractures a thin surface layer that comes away white against the dark stone, giving contrast with no coating at all. Just brush the dust off afterwards.
Why is my slate engraving grey instead of white?
Not enough power, or a harder piece of stone. Slate hardness varies naturally even within one batch, so a setting that looks bright on one coaster can read grey on the next. Raise power in 5% steps and sort mixed batches by shade before running them.
How do I laser engrave slate with a 10W diode laser?
Run 60-100% power at roughly 2,500 mm/min on a 5-10 W diode. Slate is one of the few materials where running a 10W diode near full power is reasonable, since it does not scorch or combust the way wood does.
How do you engrave on slate?
Run the machine directly on the bare stone - no masking or coating is needed. On a CO2, start at 40-60% power, 250 mm/s and 300 DPI on a 40-60 W machine; on a diode, 60-100% power at 2,500-6,000 mm/min. Brush the dust off afterwards.