Home › Guides › Longer Ray5 settings — cut & engrave cheat sheet
Longer Ray5 settings — cut & engrave cheat sheet
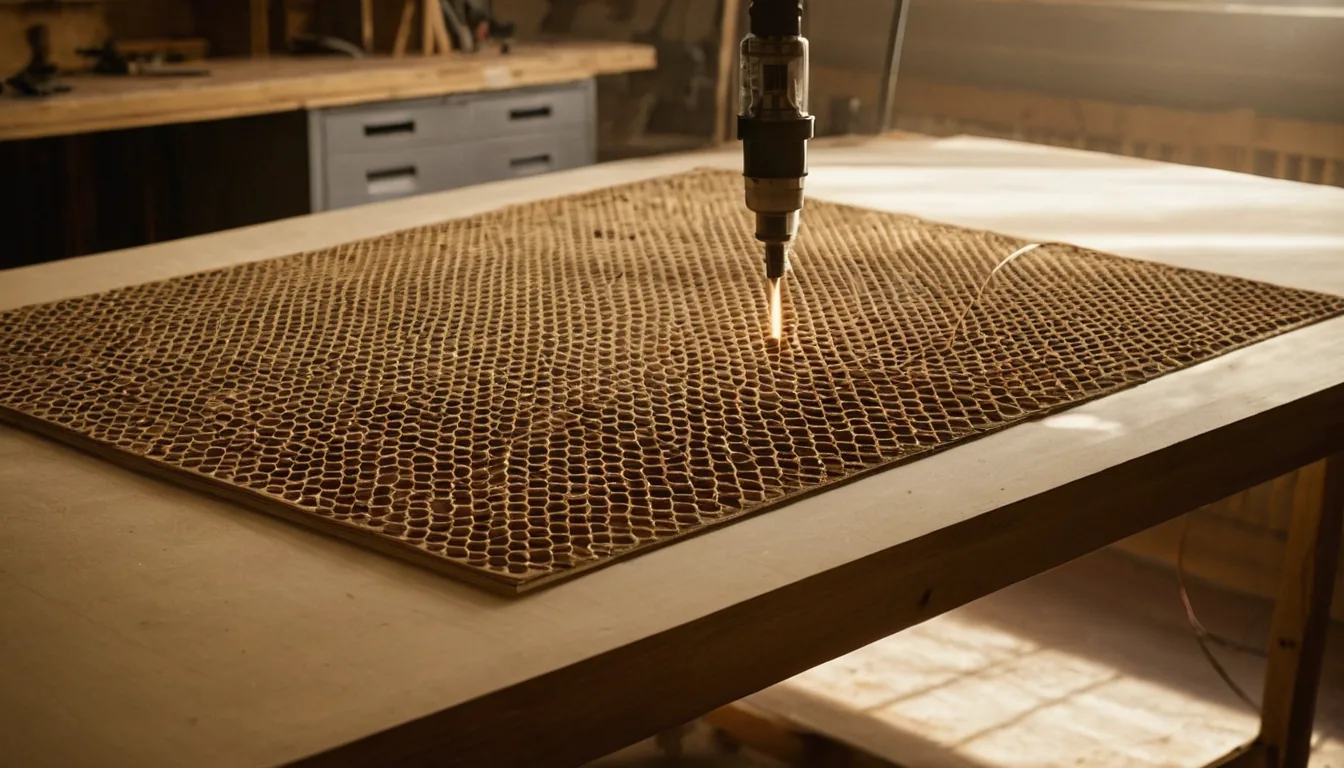
Starting-point power, speed and pass settings for the Longer Ray5 10 W and 20 W (Diode, ~450 nm) — the two versions most workshops and hobbyists actually buy, with a short note on the 5 W further down. Every machine, diode batch and material batch differs, and we have not run a Ray5 through our own shop — treat these as a fast start from Longer's published specs and community reports, then confirm with a test grid.
Longer Ray5 settings (power % / speed mm/min / passes)
These are starting points, not results from our own test cuts — Grafline has not run a Ray5 through its shop. Longer's own spec sheet gives a cutting-ability figure per wattage: the 10 W cuts basswood up to 8 mm and acrylic up to 30 mm in one pass, the 20 W stretches that to 15 mm basswood and 35 mm acrylic, both at a 450 nm wavelength and a 10,000 mm/min top speed. The power/speed/pass settings below combine Longer's own published material tests with starting points reported by Ray5 owners on the LightBurn forum and community settings libraries — confirm every one of them with a test grid before committing good stock.
| Material | Job | Ray5 20W | Ray5 10W |
|---|---|---|---|
| Basswood/plywood, thin (~3 mm) | Cut | 100% / 600–800 / 2 passes | 100% / 350 / 1 pass |
| Wood | Engrave | – | 35% / 3000 / 1 pass |
| Slate | Engrave | 50–60% / 3500–4000 / 1 pass | 35% / 1500 / 1 pass |
| Anodised aluminium (black) | Engrave | – | 100% / 7000 / 1 pass |
Anodised aluminium: Longer's own how-to for the 10 W adds a 0.125 mm line interval (203 DPI) and a 90° scan angle, in negative image mode with the artwork inverted — black anodising turns white where the beam hits it, the opposite of engraving wood. The 5 W version uses a 0° scan angle instead; Longer has not published a 20 W setting for this material.
5 W version: same 400 × 400 mm bed and 10,000 mm/min top speed as the 10 W, but a 0.08 × 0.08 mm spot (the 10 W's is 0.06 × 0.06 mm) and a lower ceiling — Longer rates it at 4 mm basswood and 8 mm acrylic in one pass. Community-tested starting points for the 5 W (Bonny Creations): thin plywood cut around 95% / 800 / 3 passes, wood engrave around 40–45% / 2500 / 1 pass, leather cut around 80–85% / 600 / 2 passes, cardboard cut around 85–90% / 400–600 / 1 pass.
Always: run air assist, focus on the actual stock, and add a pass or drop speed rather than forcing 100% power through a cut that isn't going all the way.
Get an exact price for the Longer Ray5
Settings give you the speed; the cutting time calculator turns your file's path length into an actual job time on this machine. For a full quote with materials and machine rate included, use the calculator on the homepage.
What a Ray5 needs next to it
The Ray5 is an open-frame diode: nothing stands between its 450 nm beam and your eyes, and whether air assist comes in the box depends on the bundle you bought.
Safety glasses, 455 nm OD6+: Check price on Amazon ↗
Air assist pump: Check price on Amazon ↗
Honeycomb bed: Check price on Amazon ↗
Basswood sheets 3 mm: Check price on Amazon ↗
Sunglasses and generic tinted lenses are not protection at 450 nm. Buy glasses rated OD6+ at the diode's wavelength, and wear them every time the laser is on.
Disclosure: some links are affiliate links — if you buy through them we may earn a small commission at no extra cost to you. Prices are approximate list prices at the time of writing; always check the current offer.
Bed size: what actually fits
Longer sells a different bed per wattage. The 10 W keeps the full 400 × 400 mm working area; the 20 W's larger module trims one side to 400 × 365 mm. Both accept the official Y-axis extension kit, which stretches the long axis to roughly 850 mm — good for signage and long strips, not for a wider flat sheet. Longer's own listings give slightly different extended figures depending on which control box your unit shipped with, so check the kit listing against your machine before buying stock sized to it.
| Common stock | Size | Ray5 10W (400×400mm) | Ray5 20W (400×365mm) |
|---|---|---|---|
| A4 sheet | 297 × 210 mm | Fits | Fits |
| A3 sheet | 420 × 297 mm | Does not fit — 420 mm is too long | Does not fit — 420 mm is too long |
| 300 × 300 mm craft ply | 300 × 300 mm | Fits | Fits |
| 400 × 400 mm sheet | 400 × 400 mm | Fits — edge to edge | Does not fit — 35 mm too long on one side |
| 600 × 400 mm sheet | 600 × 400 mm | Does not fit — cut it down first | Does not fit — cut it down first |
| Tumbler (with rotary) | – | Fits — the rotary replaces the Y-axis, so bed size doesn't limit it | Fits — same rotary setup |
Fitting parts onto the sheet efficiently is where material cost is actually won or lost. Our nesting tool takes your file and this bed size and tells you parts per sheet; the sheet yield calculator does the same from plain dimensions.
What the Longer Ray5 cannot do
Knowing the hard limits saves more material than any settings tweak:
- No clear or transparent acrylic. Like every ~450 nm diode, the beam passes straight through clear acrylic instead of cutting it. Dark, opaque acrylic cuts up to Longer's rated 30 mm (10 W) or 35 mm (20 W); clear needs a CO2 laser.
- No bare metal, cut or marked. A diode this size cannot cut any metal. It marks anodised aluminium directly, and marks bare or stainless steel only through a sacrificial coating such as marking spray — the beam heats the coating, not the steel underneath.
- The headline cutting figures are best-case. Longer's 8 mm (10 W) and 15 mm (20 W) one-pass ratings are for basswood at full power and a crawl of a speed. Hardwood is slower, and stacking extra passes to go thicker adds an angled, charred edge with every pass.
- Open frame means no enclosure. Neither version ships with a housing, so the beam and any fumes are exposed while a job runs. Rated eye protection and fume extraction aren't optional extras on this machine — they're the difference between a hobby laser and an eye injury.
Troubleshooting: symptom, cause, fix
| Symptom | Usual cause | Fix |
|---|---|---|
| Engraving looks faint even set to 100% power | LightBurn's S-Value Max is still at its 255 default; Longer's firmware expects 1000, so 100% in LightBurn only asks the machine for about a quarter of its power | In LightBurn, go to Edit > Device Settings and set S-Value Max to 1000 — one of the most common Ray5 complaints on the LightBurn forum. |
| X or Y axis won't move, or grinds and skips steps | Belt too loose or too tight, dry or dirty rails, or a loose motor cable | With the machine off, move each axis by hand — it should glide. Clean and re-grease the rails, check belt tension, then swap the X and Y motor cables to tell a mechanical fault from an electrical one. |
| Job stops partway through | A cheap or long USB cable dropping signal, the PC sleeping mid-job, an overheating driver board, or a limit switch false-triggering | Use a short shielded USB cable and turn off power-saver mode; check the cooling fans are spinning; inspect the limit switch levers and wiring for a false trigger. |
| Touchscreen stays black or white after power-on | A loose or dirty ribbon cable, or a failed screen or mainboard | Power-cycle for a full minute, then unplug and reseat the ribbon cable, cleaning the gold contacts with a dry cloth or eraser. Still dark after that points to a failed screen or mainboard. |
| Lines come out wavy or doubled, or the frame buzzes at speed | Loose belts or rollers, or an out-of-square gantry | A correctly tensioned belt should only flex a couple of millimetres when pressed. Tighten it and the roller eccentric nuts until there's no side play, then check the X and Y rails run parallel. |
| Cut doesn't go all the way through, top looks fine | Focus set for the wrong stock thickness | Re-focus on the actual material: loosen the module's hand screw, rest the focus plate or pin on the stock, slide the module down until its face just touches the plate, then tighten. A focus height from a different thickness will not carry over. |
If none of that helps, work through why won't my laser cut all the way through? or how to stop burn marks on wood.
Material cost per sheet
Settings tell you the time; material tells you the rest of the price, and Longer doesn't publish that part — it depends on your supplier and moves with the market. Our where to buy laser materials guide lists suppliers worth comparing before you buy a full sheet. Once you know the price per sheet, the cutting time calculator turns your file and this machine's speeds into a full per-job cost.
FAQ
What is the maximum plywood thickness the Longer Ray5 can cut?
Longer rates the 10W at 8mm basswood and the 20W at 15mm basswood, both in a single pass at full power and a slow speed. Some listings claim higher multi-pass ceilings, around 20mm on the 10W and 25mm pine on the 20W, but expect a rougher, more angled edge as the pass count goes up. Always test on your actual sheet before committing to a job.
Can the Longer Ray5 cut clear acrylic?
No. The Ray5 is a diode laser at roughly 450nm, and clear acrylic is transparent at that wavelength, so the beam passes straight through instead of cutting. It can cut dark, opaque acrylic slowly, up to Longer's rated 30mm on the 10W or 35mm on the 20W. Clear acrylic needs a CO2 laser.
Should I buy the Longer Ray5 10W or the 20W?
The 20W cuts roughly twice as thick in one pass, 15mm versus 8mm basswood, but the 10W has the finer spot (0.06 x 0.06 mm against 0.08 x 0.10 mm) for detailed engraving, and the 20W's bed is 35mm shorter on one side, 400x365mm against the 10W's full 400x400mm. If you mostly engrave and cut thin stock, the 10W is enough. If you regularly cut thicker wood or acrylic, the 20W pays for the difference in fewer passes.
Why does the Longer Ray5 only engrave faintly even set to 100% power?
This is almost always a LightBurn device setting, not the laser. LightBurn defaults S-Value Max to 255, and Longer's firmware expects 1000. With the wrong value, 100% power in LightBurn only ever asks the machine for about a quarter of its actual output. Go to Edit > Device Settings in LightBurn and set S-Value Max to 1000.
Does the Longer Ray5 need a separate air assist pump?
It depends on the bundle: some Ray5 kits include an air assist pump and others sell it as an add-on, so check the listing. Either way, air assist matters more for cut quality on this machine than any single power or speed setting, because it clears smoke and debris from the kerf so the beam is not cutting through its own char.