Home › Guides › Flashback: why the back of your parts is…
Flashback: why the back of your parts is scorched in a grid
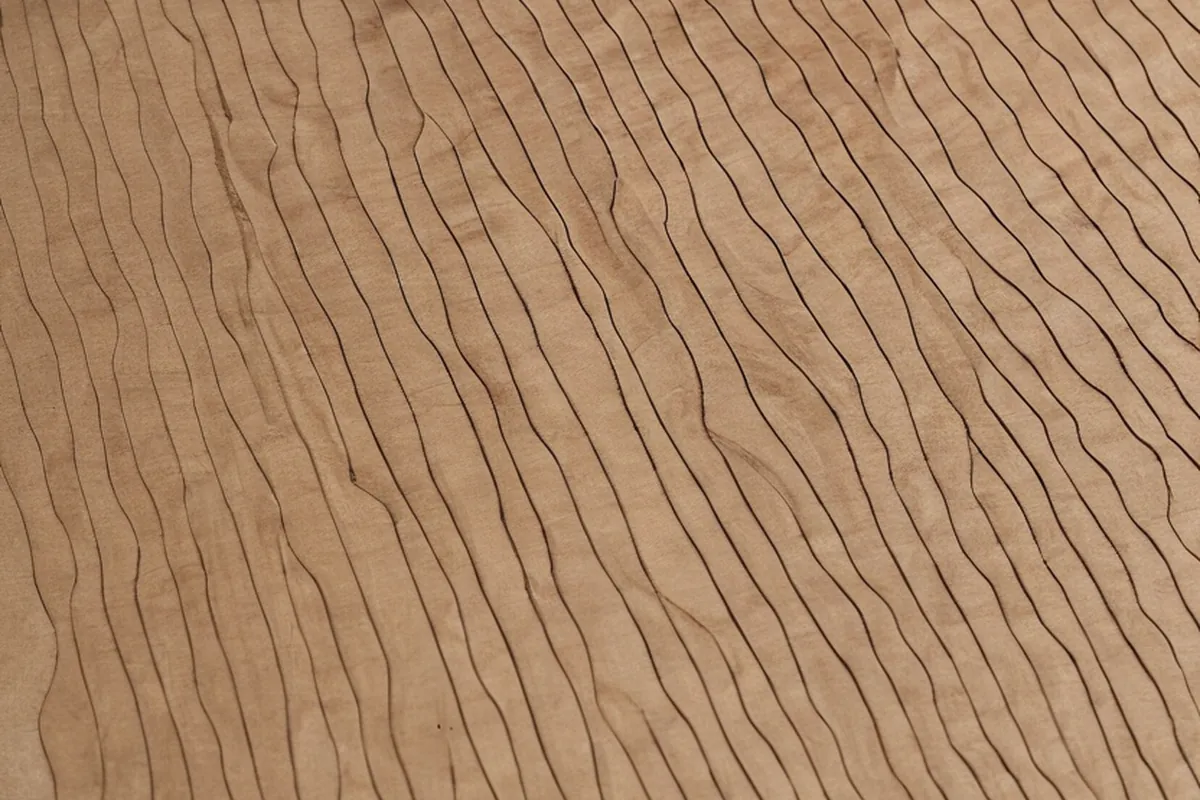
Clean face, burnt honeycomb pattern underneath. The beam is passing through your work, hitting the bed and reflecting straight back up into the material. It is one of the easiest laser problems to fix.
Check your job time →1. What is actually happening
Once the beam cuts through, it does not stop - it carries on into whatever is below. A honeycomb bed is a field of thin metal walls, and those walls both reflect energy back up and glow hot. The result is a scorch pattern on the underside that mirrors the cells. The closer the work sits to the bed, the sharper and darker that pattern is.
2. Raise the work off the bed
The single most effective fix. Put the workpiece on standoffs - 10 to 20 mm is plenty - so the reflected energy spreads out before it reaches the material again. Machinist pins, small offcuts, or purpose-made risers all work. On thin, floppy material you need enough support points that it does not sag between them, since sag also costs you focus.
3. Pin beds and knife beds
A pin bed replaces the continuous honeycomb with a small number of sharp contact points, so there is almost nothing to reflect off. Knife beds do the same with thin blades. Both are noticeably better than honeycomb for cut-through work, at the cost of holding small parts less securely - a part that drops through a pin bed mid-job is its own kind of problem.
4. Clean the honeycomb
Resin, soot and melted material build up in the cells and make flashback worse, because a dirty cell wall both reflects and burns. It is unglamorous, but a periodic clean measurably improves the underside of your parts. Tap the debris out, and scrape or soak off the resin build-up.
5. Turn the power down
If you are cutting through with far more power than the material needs, the excess goes straight into the bed. Dial the settings back until the part just releases cleanly. Less overshoot means less to reflect. This also reduces charring on the cut edge itself.
6. Masking helps the underside too
Masking tape on the back face gives the reflected energy something sacrificial to mark instead of your workpiece. It is fiddly on large sheets, but on small high-value parts - jewellery blanks, inlays, presentation pieces - it is often the difference between a sellable part and a second attempt.
Rule of thumb: Standoffs first. It costs nothing, takes seconds, and removes most of the problem before you try anything else.
Open the calculator →FAQ
What causes flashback marks on laser cut parts?
The beam passes through the material, hits the honeycomb bed and reflects back up into the underside, leaving a scorched grid pattern. The closer the work sits to the bed, the sharper the marks.
How do I stop honeycomb marks?
Raise the work 10-20 mm on standoffs or pins so reflected energy spreads before it reaches the material. Cleaning resin build-up out of the honeycomb and reducing excess power both help further.
Is a pin bed better than a honeycomb?
For cut-through work, yes - there is far less surface to reflect off. The trade-off is that small parts are held less securely and can drop through mid-job.
Does masking help with flashback?
Yes. Masking the back face gives the reflected energy something sacrificial to burn instead of the workpiece, which is worth the effort on small high-value parts.